
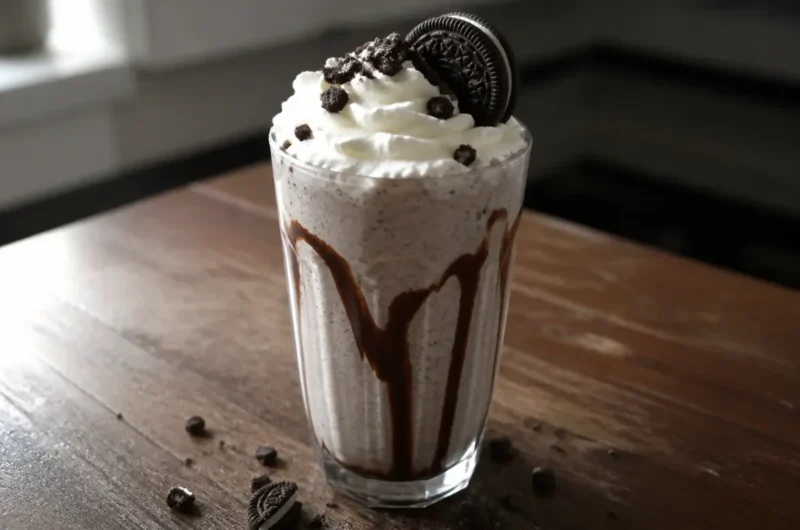
Why You’ll Love This Oreo Milkshake
When you’re craving something cool and indulgent, making an Oreo milkshake offers a quick fix that’s both satisfying and nostalgia-inducing. This recipe is perfect for those hot summer days or when you want to treat yourself without much effort. It’s a guaranteed crowd-pleaser, making it an ideal choice for family gatherings or casual get-togethers. You may also find Basic French Macarons useful.
The Story Behind This Oreo Milkshake
I fondly remember sipping on creamy, rich milkshakes during childhood visits to the local diner with friends. It was always a treat to share a giant milkshake, especially one loaded with Oreos! This recipe brings that memory to life, letting you recreate those delicious moments right in your kitchen. You may also find Creamy Crockpot Pierogi Casserole With Kielbasa useful.
The Only Oreo Milkshake Recipe You Need
With just a few ingredients and minimal preparation, you’ll have a delightful milkshake ready in no time. The combination of ice cream and milk creates a perfectly smooth texture, while the Oreos add that classic crunch and chocolate flavor that everyone loves. Trust me, making this milkshake at home is far superior to anything you’ll find at a fast-food chain! You may also find Garlic Butter Bread Rolls useful.
What Oreo Milkshake Should Taste Like
When done right, a good Oreo milkshake has a rich, creamy texture highlighted by the contrasting crunch of Oreo cookie pieces. You’ll experience the sweetness of the vanilla ice cream, complemented by the chocolatey goodness of the Oreos. The flavors meld beautifully, creating a delightful blend that’s both refreshing and indulgent.
Ingredients
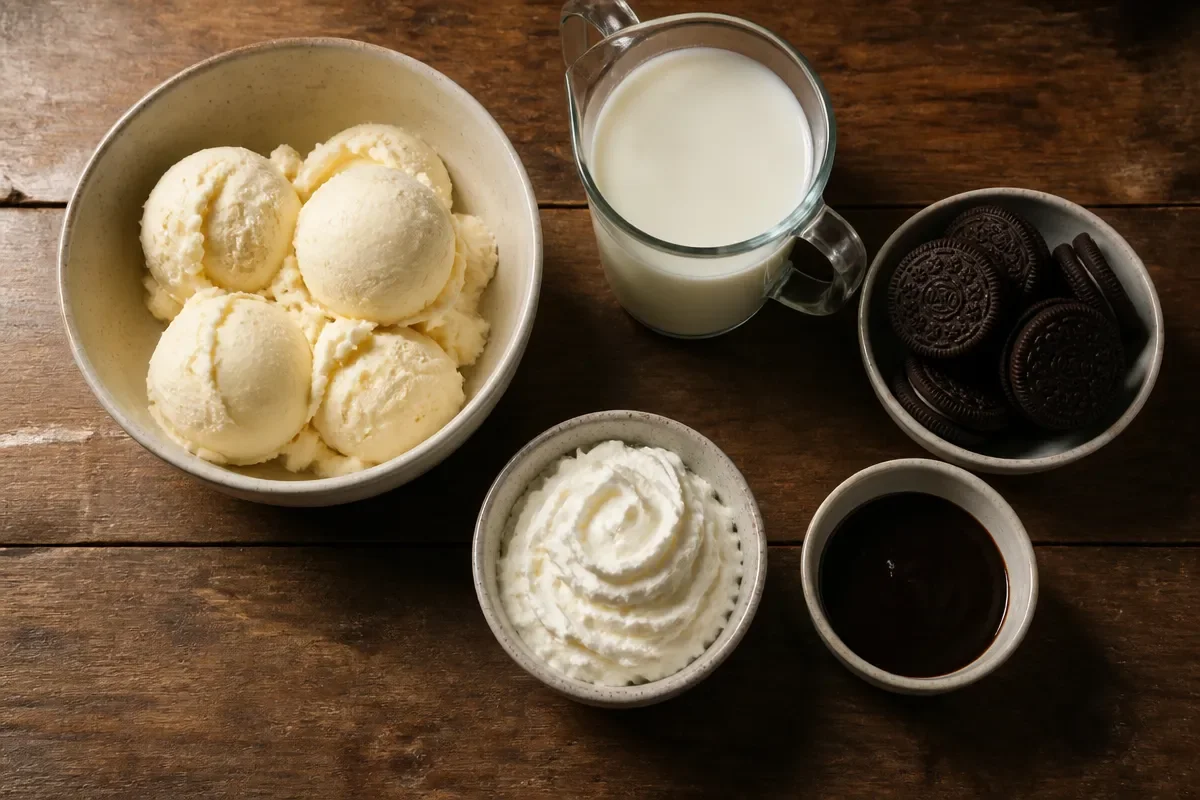
- 2 cups vanilla ice cream
- 1 cup milk
- 10 Oreo cookies
- Whipped cream (for topping)
- Chocolate syrup (optional)
Using high-quality vanilla ice cream will make a noticeable difference in your milkshake’s flavor and texture. If you’re looking for some alternatives, consider using lactose-free ice cream or almond milk for a dairy-free version.
Step-by-Step Directions
-
Blend the Base: In a blender, combine the 2 cups of vanilla ice cream and 1 cup of milk. Blend until it’s smooth and creamy. It should have a thick, soft-serve consistency. Avoid over-blending, as you want to keep some volume in the mixture for thickness.
-
Add the Ores: Break the 10 Oreo cookies into halves or quarters and add them to the blender. Pulse a few times until the cookies are well-incorporated but still retain some chunks for texture. Taste to see if you want to add more Oreos based on your preference for cookie crunch.
-
Optional Chocolate: If you enjoy an extra touch, drizzle chocolate syrup inside the glass before pouring in the milkshake. This creates a lovely presentation and adds depth to the flavor.
-
Pour and Top: Carefully pour the milkshake into your prepared glass. For an inviting finish, top generously with whipped cream and sprinkle crushed Oreos over the top.
-
Serve Immediately: Enjoy it right away with a thick straw or a spoon to savor all those delicious layers of flavor!
Serving Suggestions
This Oreo milkshake pairs perfectly with homemade cookies or a slice of pie for dessert. For a fun presentation, serve it in tall glasses with colorful straws. It’s an excellent treat for birthday parties or as a summer refresher during barbecues.
Storage and Reheating
Milkshakes are best enjoyed fresh, but if you have leftovers, store them in an airtight container in the freezer for up to 24 hours. To enjoy it later, let it thaw for a few minutes at room temperature before attempting to blend again.
Pro Tips
- Flavor Technique: For an extra layer of flavor, try adding a splash of vanilla extract or a pinch of instant espresso powder for a mocha twist.
- Texture Trick: If you want a thicker shake, add less milk or more ice cream; for a thinner shake, do the opposite.
- Common Mistake: A frequent error is using too much milk, which can result in a watery texture. Start with less and add more if needed.
- Ingredient Upgrade: Consider using gourmet or specialty Oreo flavors for a unique twist on this classic recipe.
- Time-Saver: Have your ingredients pre-measured and your Oreos crushed in advance. This way, you can whip up your milkshake quickly on a whim!
Variations
Spicy Version
Add a pinch of cayenne pepper for a surprising kick! This version plays off the sweet and spicy flavor combination and offers a fun twist on the classic.
Lighter and Healthier Version
For a lighter take, use low-fat ice cream or yogurt and substitute almond milk. This will reduce the calories while still satisfying your craving.
Vegetarian or Vegan Version
To make a vegan Oreo milkshake, use coconut or almond milk and dairy-free ice cream. Ensure your Oreos are certified vegan, and you’ll have a delicious treat that fits dietary needs.
FAQ
Q: Can I make this milkshake ahead of time?
A: While it’s best enjoyed fresh, you can prepare the milkshake base (ice cream and milk) and store it in the fridge for up to an hour before blending in the Oreos.
Q: How long will the milkshake keep?
A: For the best taste and texture, consume it within 24 hours.
Q: What’s the best way to fix a too-thick milkshake?
A: Simply blend a little more milk in until you reach your desired consistency.
Q: Do I need to use the entire packet of Oreos?
A: No, you can adjust the number of Oreos based on your taste preference. Try starting with 5 and adding more if you’d like a richer flavor.
Q: Can I use different cookies?
A: Absolutely! You can experiment with other sandwich cookies or even nut-based cookies for a unique flavor profile.
Conclusion
Making your own Oreo milkshake at home is not only easy, but it also allows you to customize the flavors to your liking. For an irresistible twist, check out this Oreo Milkshake Recipe – The Salty Marshmallow. If you’re looking for an even more delicious option, I recommend trying this Oreo Milkshake – The Weeknd Whisk. Enjoy crafting this delightful treat and sharing it with your loved ones!
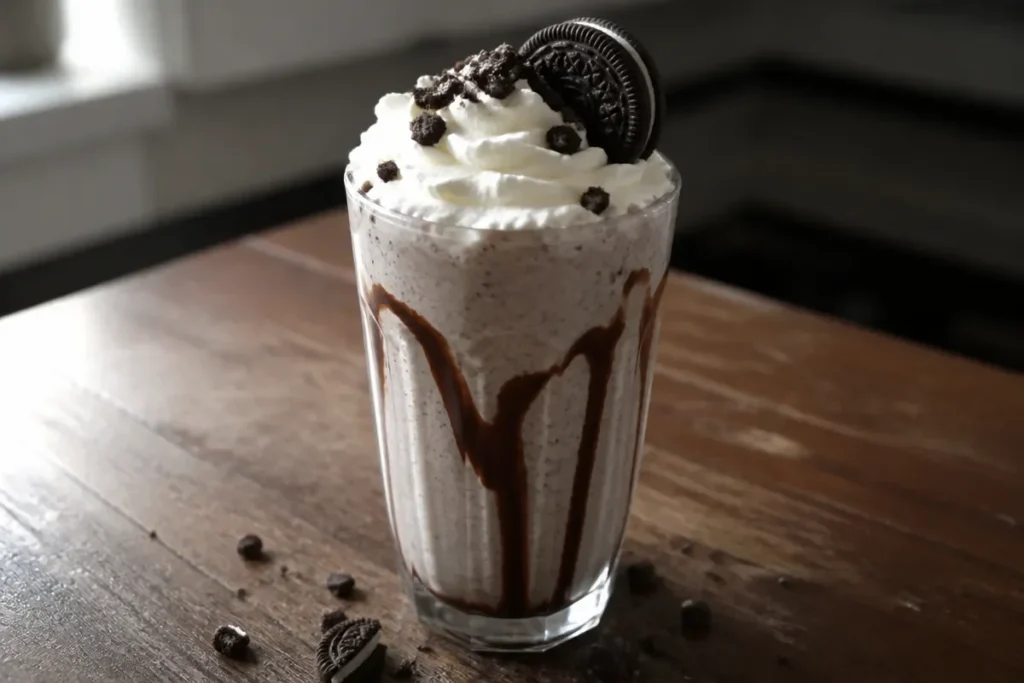
Oreo Milkshake
Ingredients
Method
- In a blender, combine the vanilla ice cream and milk. Blend until smooth and creamy, maintaining a thick consistency.
- Break the Oreo cookies into pieces and add them to the blender. Pulse a few times until well-incorporated with some chunky pieces remaining.
- For an extra touch, drizzle chocolate syrup inside the serving glass before pouring in the milkshake.
- Pour the milkshake into the prepared glass, then top with whipped cream and crushed Oreos.
- Serve immediately with a thick straw or spoon to enjoy all the flavors.





Pingback: No-Bake Oreo Cheesecake Bites – French Recipes